
The new mold 'M3' (product code)
With the new mold workflow, you can precisely control both global and local geometry. This allows you to create more consistent designs, better adapt to clinical needs, and streamline your workflow.
To start using the new mold, select the 'M3' product code in the forma desktop application. 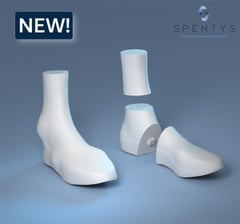
Landmark Placement
To begin, you need to place a set of anatomical landmarks on the scan. These landmarks are essential, as they define how the parametric model behaves and how different regions of the mold are generated.
Place the following landmarks:
-
Heel
-
Lateral malleolus
-
Base of the fifth metatarsal
-
Shaft of the fifth metatarsal
-
Inferior aspect of the first toe
-
Shaft of the first metatarsal
-
Navicular
-
Medial malleolus
Accurate placement is important, as it directly influences the quality and accuracy of the generated mold.
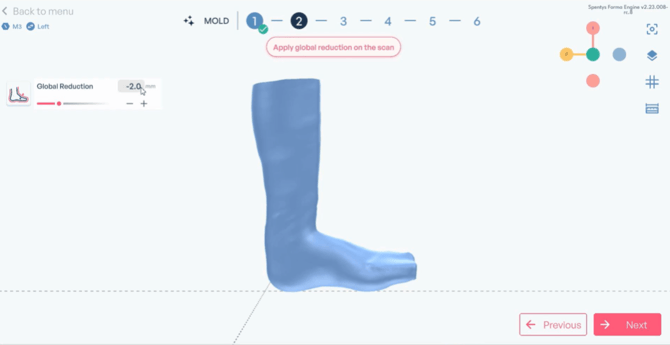
Global Reduction
Once the landmarks are defined, the first step is to adjust the overall thickness of the model.
If you are working from a cast scan, you can reduce the thickness by a chosen number of millimeters to compensate for the material of the cast. For example, applying a reduction of 2 mm ensures that the mold reflects the actual limb dimensions rather than the outer surface of the cast.
If you are working from a direct limb scan, this step can instead be used to add a small offset. This creates space for padding in the final device.
Keep in mind that global adjustments will directly impact the final fit, so they should always be applied carefully.
Calf Adjustments
Next, you can refine the shape of the calf.
The workflow includes the familiar controls from the previous version, allowing you to crop the scan, extend the cuff length, or straighten the calf. These tools remain useful for basic alignment and preparation.
In addition, the parametric system introduces new controls that provide more advanced shaping options.
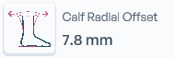 |
You can now apply a radial offset to the calf, which increases its overall circumference in a uniform way. This is particularly useful when additional space or relief is needed. |
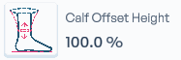 |
The offset height parameter. This allows you to choose whether the adjustment starts more proximally or distally along the calf. |
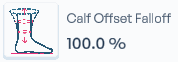 |
The offset fall-off lets you control how the offset is distributed. You can choose a constant offset along the entire calf, or a gradual increase toward the knee. |
Tip: Throughout this step, you can toggle the visibility of the original scan to compare your adjustments with the initial anatomy.
Heel Adjustments
The heel modification workflow has been redesigned to provide more intuitive control.
Instead of using a general heel build-up, you can now adjust the heel using two dedicated parameters.
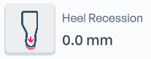 |
The heel recession control allows you to add volume to the posterior aspect of the heel. |
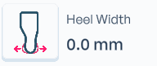 |
The heel width control increases volume along the sides. |
These parameters give you more targeted control over heel geometry and allow for a better anatomical fit.
Toe-box Adjustments
The toe-box has been significantly improved and now offers a more natural and fluent shape.
You can still adjust the basic dimensions, such as length, width, and height, to define the overall size of the toe-box.
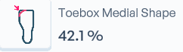 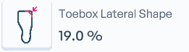 |
The new system allows you to independently modify the medial and lateral sides. This makes it possible to better match asymmetries in patient anatomy and create a more customized fit. |
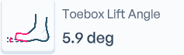 |
You can also apply a toe-box lift, introducing an upward angle starting from the metatarsals. |
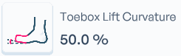 |
To further refine this, the new curvature control allows you to adjust how this lift is distributed, ranging from a flat transition to a more progressive curve. |
Plantar Surface and Medial Arch
The parametric workflow introduces enhanced control over the plantar surface and medial arch.
You can begin by adjusting the plantar surface, for example by slightly elevating it to increase contact where needed.
For the medial arch, a full set of parameters is available. You can increase or decrease the height of the arch, shift its base position, and adjust both its length and width. If required, you can also flatten the arch to reduce its prominence.
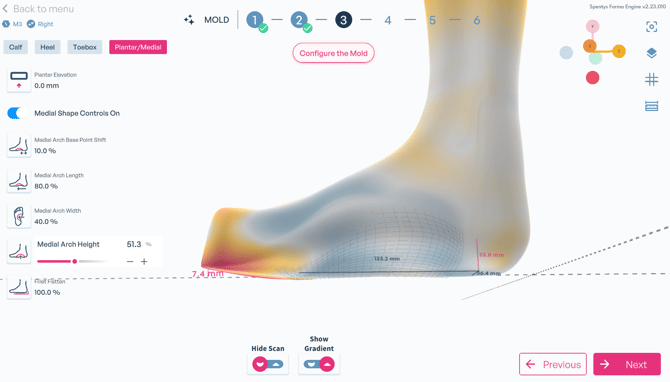
These controls allow you to shape the medial arch precisely according to the clinical objective.
Build-ups (Pressure & Relief Zones)
In this step, you can define localized modifications on the mold.
You can create build-up zones by placing and adjusting nodes directly on the model. Once a zone is defined, you can add volume using sliders to achieve the desired level of support or pressure relief.
The system also includes standard Spentys build-ups, such as those for the navicular, Calcaneus and both malleoli. These can be used as a starting point and further customized if needed.
Tip: To better understand the applied changes, you can enable gradient visualization.
Heel Lift
After defining the main structure of the mold, you can apply a heel lift.
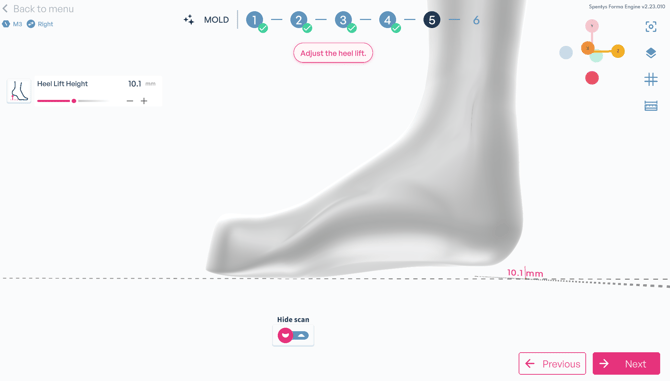
This can be done by adjusting a slider or entering a specific value. The change is applied instantly, allowing you to quickly evaluate its effect on the overall geometry.
Measurements
Before finalizing the mold, you can review key measurements.
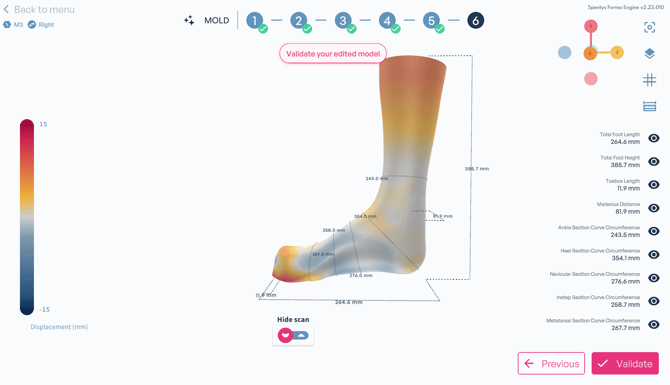
The measurement tool provides an overview of circumferences and lengths, helping you verify that the mold matches your intended specifications. You can toggle these measurements on or off depending on your preference.
If you would like to see a demonstration of the new mold workflow, click here to watch the tutorial.