How to print your orthosis at Spentys?
You can choose to get your 3D model printed at Spentys
Congratulations, you just created an orthosis and now it’s ready to print!
You have two options!
- Print locally
- Print at Spentys
Print Locally
|
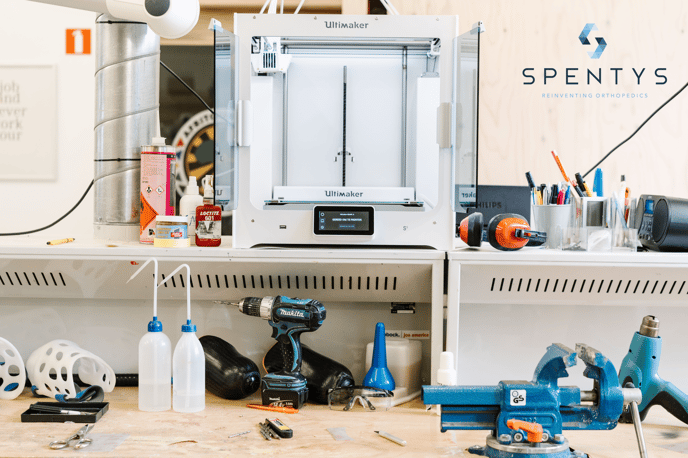
You have your own 3D printer at hand. We will provide you with the correct printing file. Two options are possible:
|
 |
Print at Spentys
If you are not in possession of a 3D printer, you have the option to get your design printed by Spentys. Depending on the pathology and model you choose, different options of printing technologies and materials are available. The application will give you suggestions of different options on how to print it and which material to use, depending on the chosen model.
E.g., when selecting the A1 model, you will be given the choice between printing technologies ‘Fused Deposition Modeling' (FDM) or ‘Multi Jet Fusion' (MJF). FDM will print A1 with polypropylene (PP) as printing material, while MJF will print with thermoplastic polyurethane (TPU).
Printing technologies
Following, we will describe the most used (standard) technologies at Spentys.
- FDM
- MJF
 |
Fused Deposition modeling (FDM): also known as FFF (Fused Filament Fabrication) is based on the concept of thermal extrusion: a thermoplastic filament is melted and put on the build platform. Layer-by-layer the orthopedic device is created. FDM is commonly used for the manufacturing of orthopedic devices as it is a relatively easy machine to work with and comes with a large choice of filaments: nylon, PLA, PP, TPU… This large choice enables orthotists to build orthoses with different mechanical properties in order to better meet patient’s needs. |
|
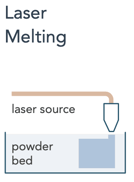
Multi-jet fusion (MJF): is a combination of Selective Laser Sintering (SLS) and Binder Jetting technologies. First, a thin layer of powder is spread over the build platform, where it is heated to a constant near-sintering temperature. A fusing agent is deposited over the bed, where the powder needs to be fused together. At the same time, a detailing agent is added near the edge of the model. The detailing agent will inhibit the sintering, this to a better resolution of the edges. A high-power IR energy source then passes over the build bed and sinters the areas where the fusing agent was dispensed while leaving the rest of the powder unaltered. |
Printing materials
Standard materials we provide at Spentys
|
|
Main properties |
Main uses in orthotics |
|
PP (polypropylene) |
Semi-flexible Fatigue-resistant (retain shape after deformation) Chemical-resistant (maintain its original properties after being exposed to an indicated chemical agent) |
Ideal for post-traumatic orthoses (better flexibility but not durable, only lasts a few months) |
|
TPU (95A) (thermoplastic polyurethane) |
Flexible Wear and tear resistance |
Insoles Foot orthoses |
Other filaments are available to print your model, such as Carbon, PLA, Nylon (PA11, PA12), PVA, to name a few.
Post-processing
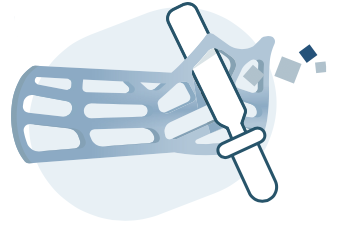 |
After printing follows a post-printing procedure. FDM post-processing is quite simple. It consists of removing the support from the device and polishing it. Basic post-processing takes about 10 to 15 minutes. For some devices, the orthopedic technician can choose to upgrade his post-processing efforts by adding more attractive closing systems or a special coating. |
With other machines, the post-processing procedure is a bit more complicated. The prints must be thoroughly rinsed and post-cured before use.
Note:
E.g., FDM - PP is easily editable with sandpaper in combination with silicone to make the surface smoother. And thanks to the properties of PP, it’s also possible to heat up the material with a heat gun. You can alter and mold the model, without needing to print the model again.
In comparison MJF -TPU is less editable and cannot be altered with a heat gun.
