
You can access the correction tool after creating a new scan for your patient. Here you can find an article on how to create a new order for your patient.
Correct
You will be able to rectify your scan once you are in the Correct step of your New Order.
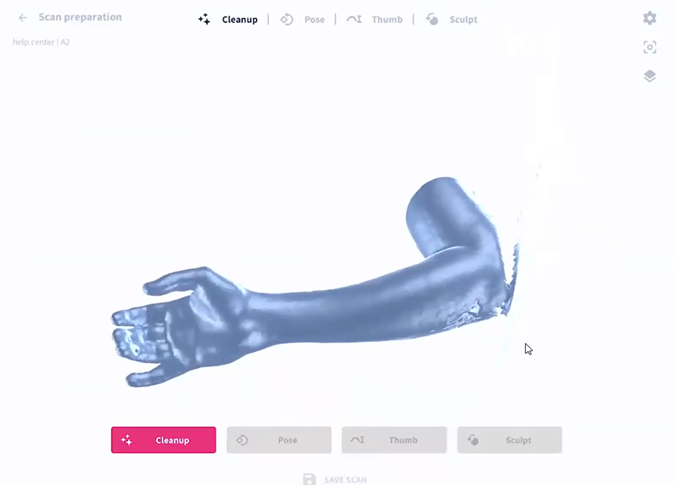
In case you have multiple scans, you can select the scan you wish to rectify. Push the Correct selected scan button to launch the rectification tool. The rectification process consists of three to four different steps. You can find the different steps on the bottom side of the screen and read instructions on each step in the upper middle part of the screen (displayed in the picture above).
Cleanup

The first step of the rectification process is to automatically smooth out the scan and fill up missing spots if needed.
To start the cleanup process, just click on the Cleanup button.
Notice the arrow in the upper left corner of your screen: you can use it to go back to the previous step. Be aware that changes won’t be saved if you go to the previous steps.
In this first step, you need to select the scan part you want to use to create the orthosis. If the body part you want to use is still red, it has not been selected yet. Once your required body part is coloured green, you can proceed to the next step.
Next, you should position landmark points. In the lower middle part of your screen, a reference model indicates exactly where you should put the landmark points.
You can change the scan orientation by sliding over the screen with one fingers in the direction you want to turn the scan. You can also use two fingers to zoom in and zoom out by moving your fingers closer or further from each other on the screen. You can also reposition the scan by dragging two fingers over the screen.
Tip: If you need to refocus your scan, you can click on the refocusing icon at the top right of the interface : ![]()
You can also change the scan’s orientation by using the coordination commands at the left bottom corner on your screen. They automatically reorientate your scan in a certain position.
After positioning the landmark points, you can select the scan part you want to crop off by sliding the blue square onto your scan to cut it .
You can also control the angulation of this cutting plane by pressing the spheres on each side and moving the sphere to orient the cut.
Pose
In the pose step there are 2 possible ways to correct your scan:
Basic mode:
In this mode, you can change the position of your scan. First, you'll need to position two more landmark points.
Once you've positioned these landmark points, you can adapt the angle of the scan. In this example, we can adjust the flexion-extension and abduction–adduction of the wrist. If you wish to go back to your initial scan position, you can go back to the previous step or tap on “+/-“ icons of the slider until you go back to 0°

Advanced mode:
First you'll have to place 12 landmarks (distal on the fingers, mcp, center of the hand and the 5th metacarpal bone). Once these landmarks have been placed the application will connect with the internet to position all the articulations in the fingers, mcp's and wrist.
Once you have validated a first position, you will be able to modify the angulation of your wrist again, this time with a quantization displayed on the scan image.
Thumb
If you have chosen a model that includes the thumb in your orthosis. We can offer you a tool via the application to facilitate the entry of the thumb in the orthosis:
Once the fitting step is validated, you can move on to the next step: thumb, in order to rectify the thumb of your orthosis.
Place 3 reference points: one at the interphalangeal articulation, one on the metacarpophalangeal of the thumb and one on the web-space between index and thumb.
Once this is done, a cilinder will be placed over the thumb to ensure a good fitting of the device.
Tip: If you are unhappy with the placement of the cilinder, we advise you to go back to the correction step and correct the position of the MCP to IP. Based on this orientation the cilinder will be positioned.
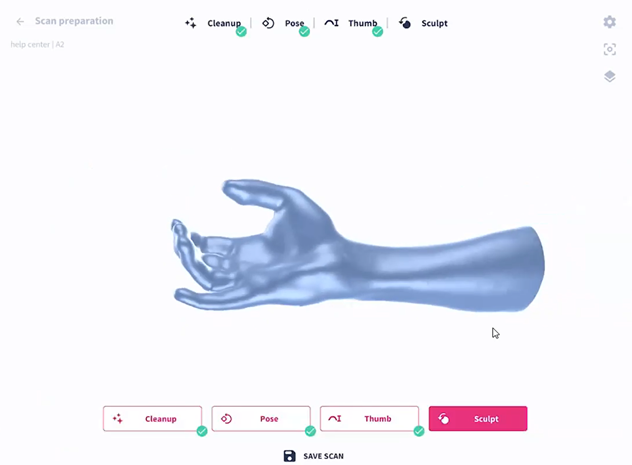
Sculpt
With the Sculpt tool, you can add or remove local volume to the scan. To start sculpting, click on the button (displayed below).
Let's say, for example, you want to add some volume around the styloid to make sure the patient doesn't experience any uncomfortable pressure points here.
With the sculpting tool, you can either create material or release it. This allows you to create a comfort zone for the patient, or a support zone to maintain the limb in soft areas for example.


- Undo / Redo buttons : To go back and forth your steps of drawing
- Pull/Push Slider: switch from material creation mode to material removal mode
- 3 Sculpting tools available:
| Brush tool: create local offsets | |
| Levelling tool: make an average between two volumes | |
| Flatten tool: push all the volumes on the same height |
- Eraser: Erase locally in the scan the modifications you made
- Limit value: set a quantified deformation limit
- Brush radius: Change the diameter of your brush
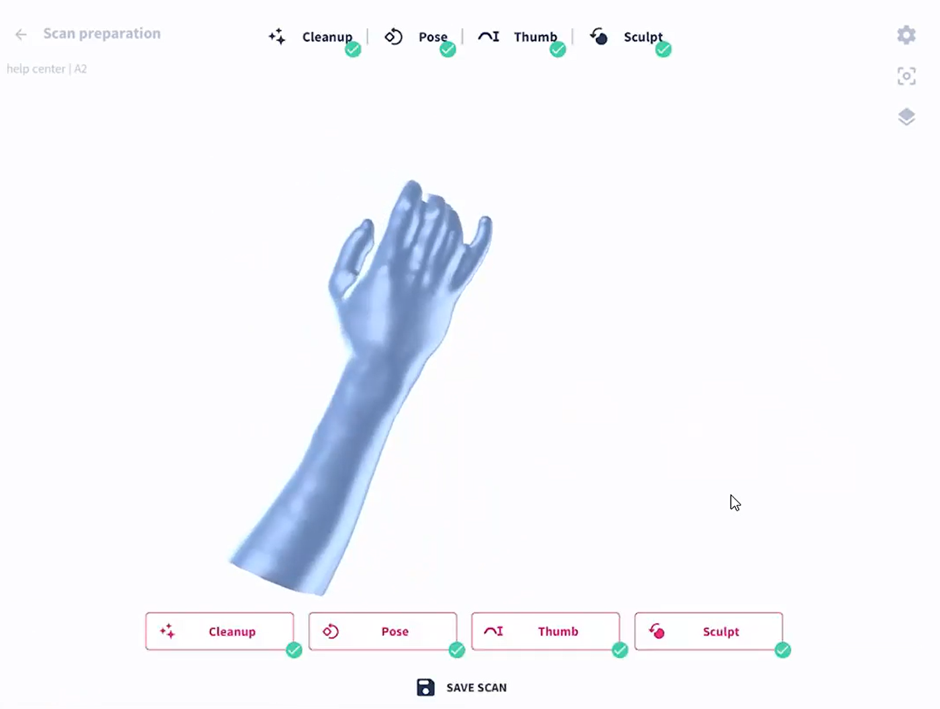
Once you are satisfied with all the corrections made to your scan.
You can click on "save scan" at the bottom of the interface to return to your order and continue with the design.
You have just completed all the scan rectification steps. Congratulations, these tools no longer hold any secrets for you!