
Scanning in general:
At any time, you can have a look at your scan.
Beware that the scan you made is usable before leaving the patient, here are some instructions for you to follow.
  |
|
  |
2. Avoid overlapping due to movement from the patient
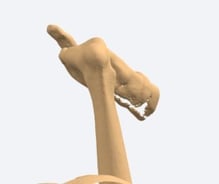
Note that you should also avoid scanning object directly on the patient's limb: hands - jewelry - thick socks etc.... |
Scanning - Direct scan of the foot
If the patient is able to hold the foot on the foot support and stay still. This is the best option to get the perfect surface for the plantar side of the foot, and already made some corrections, moving the glass support.
This avoids rounded surfaces on the heel and will prevent having an unstable AFO.
If it is not possible to use the foot support, it is still possible to correct the foot of your patient by holding the foot yourself.
Beware: your hand must hold it at the tip of the foot, the surface that won't be used for creating your model. If you hold the instep or the heel while scanning, It will be very hard to create the AFO.
|
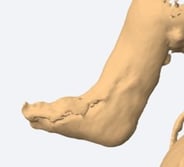
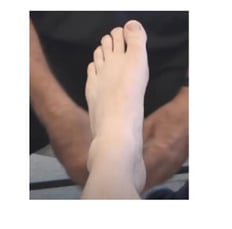
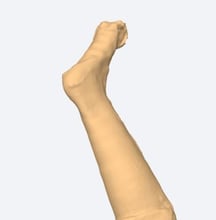
Incorrect: Foot is relaxed |
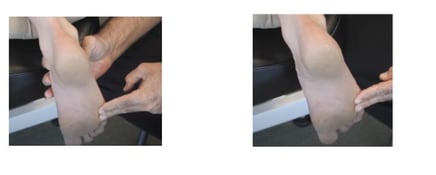
Correct: Subtalar joint in a neutral position Lock on midtarsal joint |
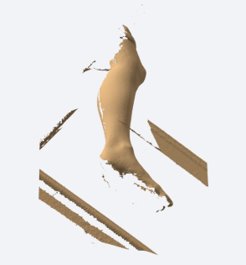
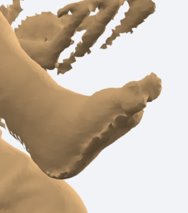
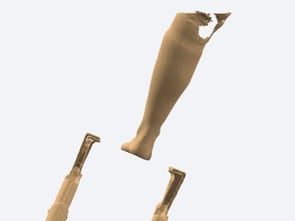
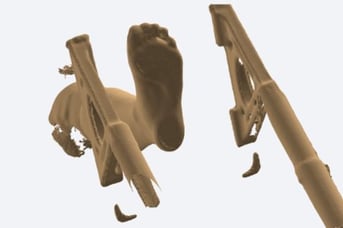
Examples of bad scans in an incorrect position: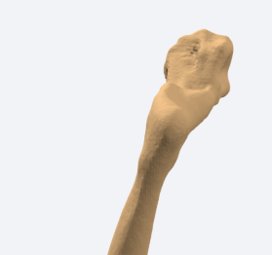
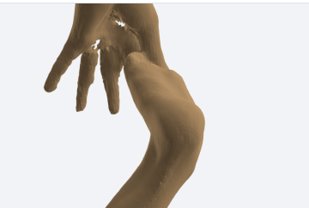
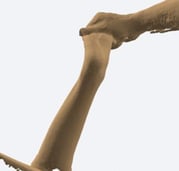
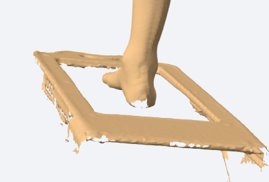
Note that you can scan a hand on your patient's foot, but only if its holding it by the toes
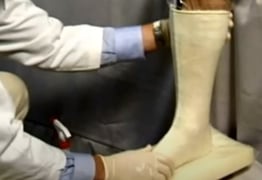
Scanning: scan of a cast
To scan a cast, we always advise using resin sockets instead of plaster straps.
Because when modeling, you'll need a constant thickness everywhere in the scan to make a negative offset and get the true shape of the foot inside the cast.
Plaster casts usually have a lot of bumps and scanning it won't reflect the real shape of the foot.
|
|
|
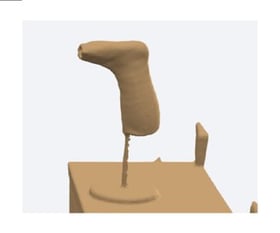
Examples of scans taken in an incorrect position (the cast was not loaded)
Correcting
You can already correct directly on the mold, add material directly to the cast or you can use the correction/sculpting tool in the app, to achieve the ideal immobilisation position.
Final Checklist
- No holes in key areas
- No overlapping
- Preferably use the scan support, if not, put the foot in neutral or take a cast in a loaded position
- Correct the scan to the desired position
- Add the desired offsets
Remember that, at any point, if you have a doubt about the quality of your scan, you can take measurements of the foot and send them with the order so that we can check it internally if needed.
That's it! With all these controls, your AFO should be perfect to go for a perfect fit for your patient!